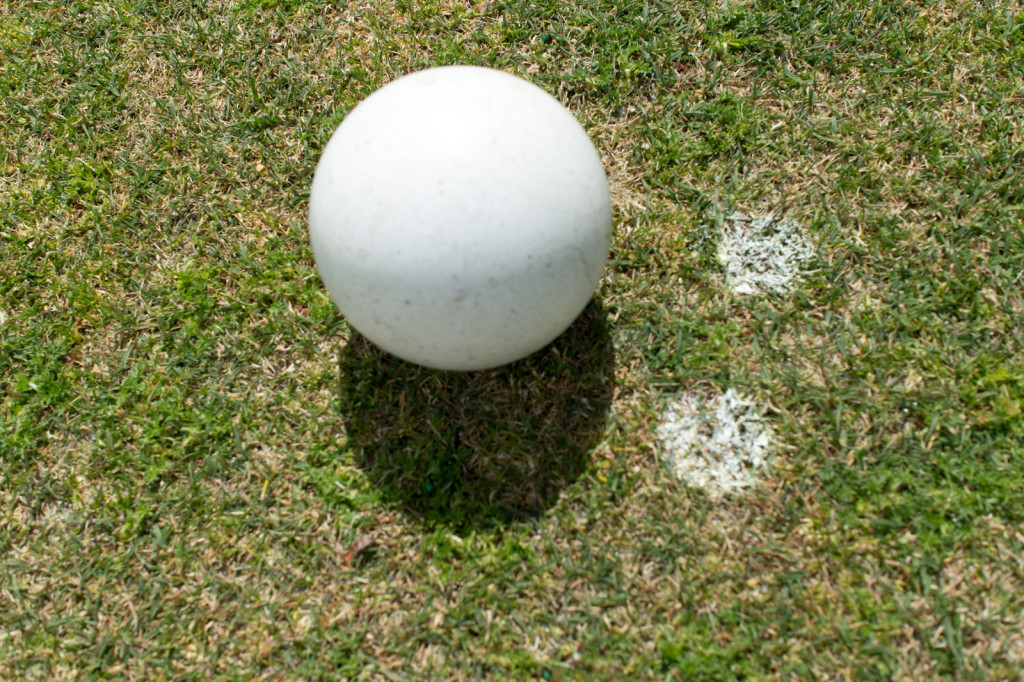
Whilst playing a pleasant game of bowls one of the fine rituals we enjoy is centering the jack using hand signals. In pairs or triples games this goes quickly enough as the lead sends signals to the skip. Often the skip will leave chalk marks flanking the jack to aid centering in subsequent ends.
In a singles game, such as our ladder matches, the process is a bit more tedious since one of the players must remain at the head end of the rink to do the centering. Thus was born the Mark-O-Matic, a string marking gage that allows the quick pre-game placement of chalk marks for centering at two-meter intervals plus bonus marks for a rink’s mat lines and hog lines.
The Mark-O-Matic, a string based marking gauge
Using the Mark-O-Matic is quick and easy. Here’s the drill:
1. Attach one end of the line
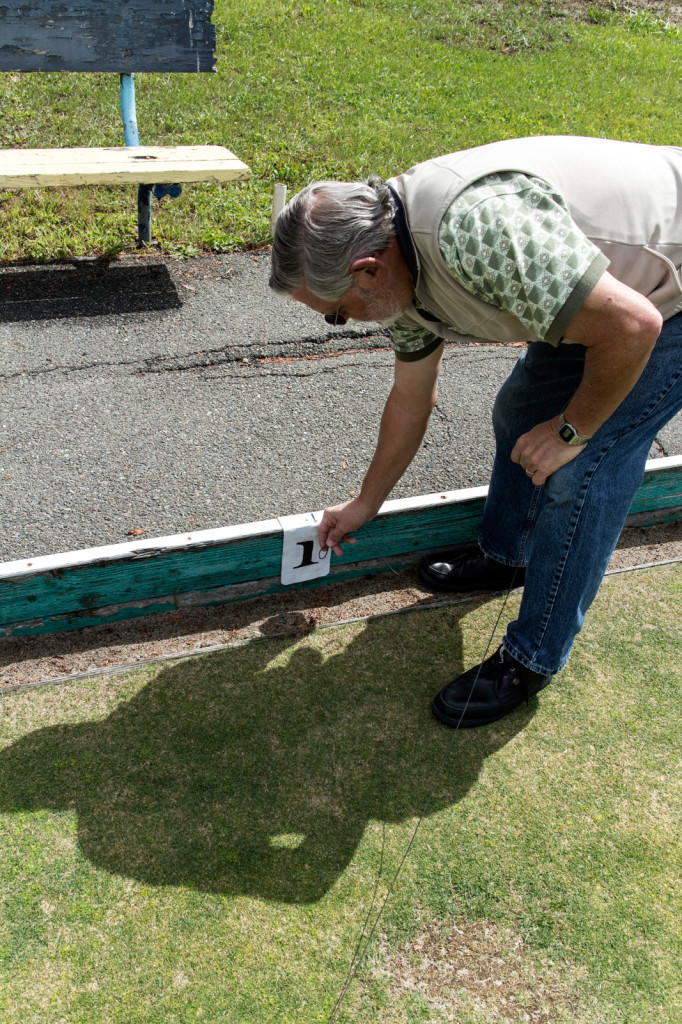
Find the Mark-O-Matic in the rink equipment shed. Attach the loop at the end of the Mark-O-Matic’s line to a nail at the end of your rink’s centerline. There should be a nail for each rink in the plinth board on the green side of the ditch.
Find the nail and attach the Mark-O-Matic string.
2. Walk the line to the other end of the rink
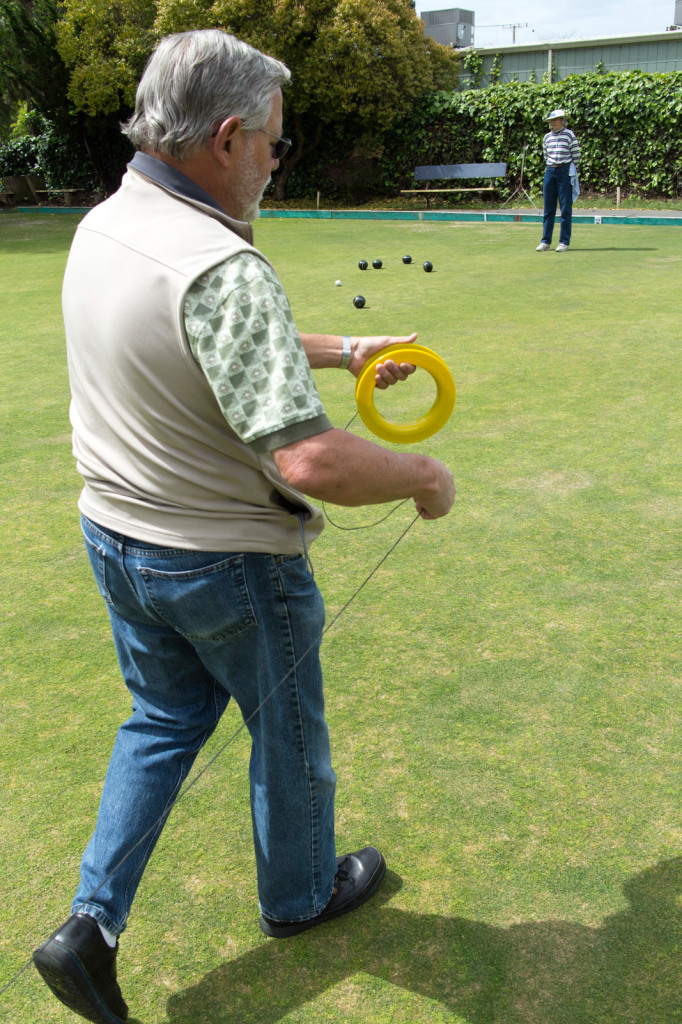
Play out the Mark-O-Matic string as you walk to the opposite side of the rink. It is important to make sure you go to the rink marker at the far end that matches the one you started with (ask me how I know).
Playing out the line
The line should spill off the side of the winder rather than have the winder rotate in your hand. I find it helps to guide the line through the hand that does not hold the winder.
3. Make a loop and attach the line at the far end
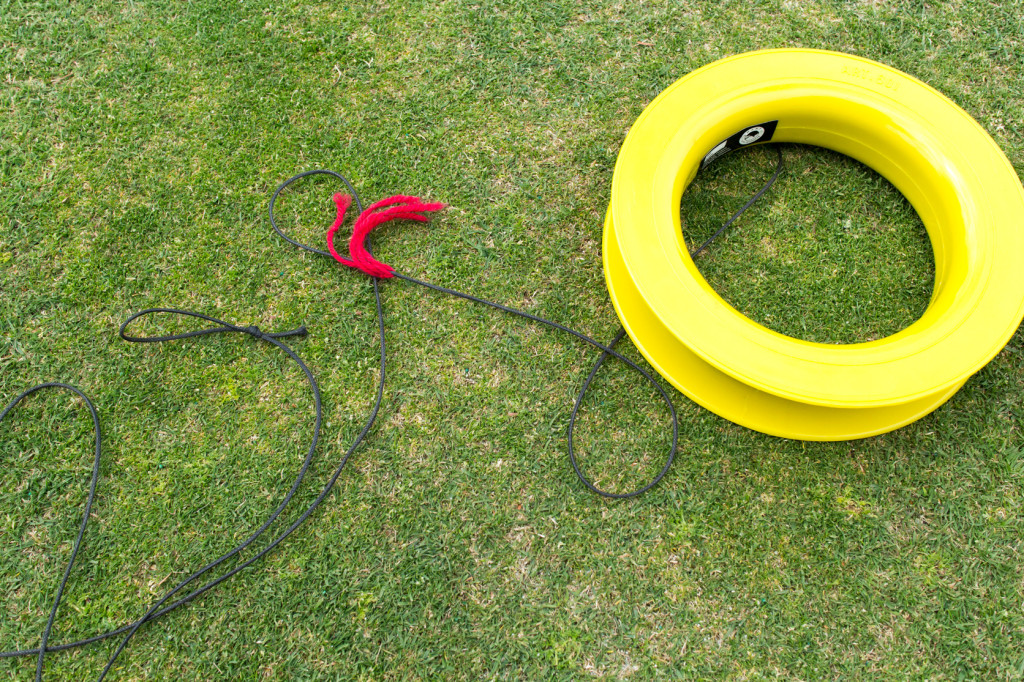
On reaching the other end of the rink you have come to the end of the line on the winder. Along the way you may have noticed little tufts of yarn fixed to the line. These are the indicators for locations of chalk marks we will place on the green. But now we have to tighten the line and tension it just the right amount so that the chalk mark indicators are in the right place.
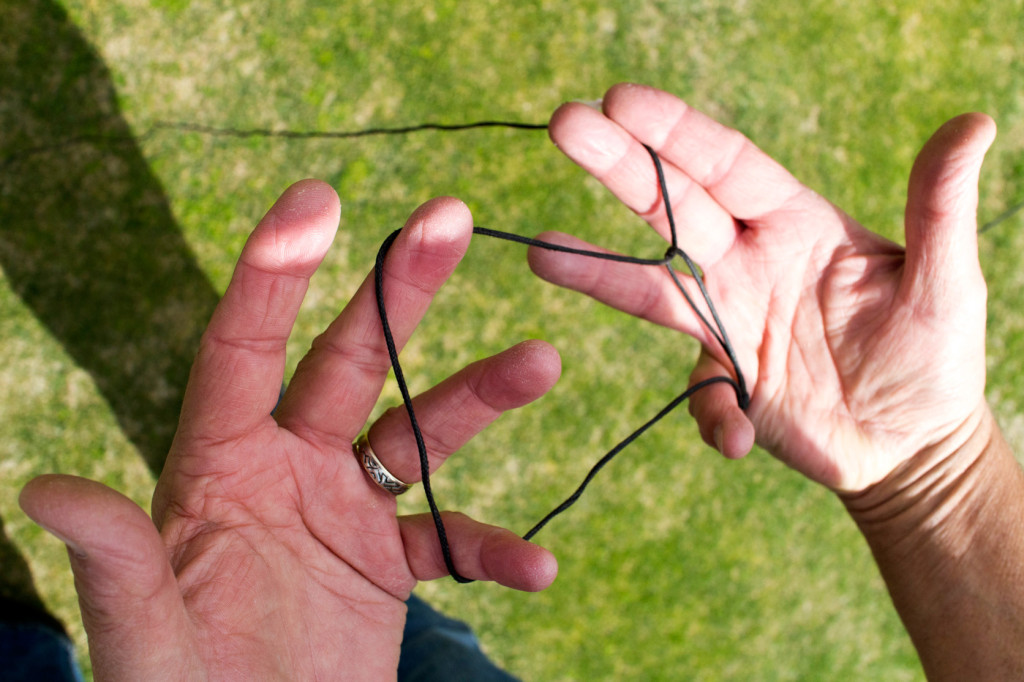
Making a sliding loop
Start by finding the small fixed loop near the end of the line. Feed the winder end of the line through this fixed loop to create a large sliding loop. Hook this large sliding loop on the nail in the plinth board on the green side of the ditch. Pulling on the winder end of the line should now tighten the sliding loop and put tension on the entire line as it crosses the green.
4. Tension the line just the right amount
I start by pulling the line taunt, lifting it up, and dropping it to the green – like snapping a chalk line. This should help the line find a straight path. The line in the Mark-O-Matic is some of my old, retired, 100-Kg-test, braided, dacron kite line. This line stretches as you place it under tension so we have to stretch it just the right amount to place the yarn chalk mark indicators in the correct locations. Happily, the Mark-O-Matic has indicators to help you do this.
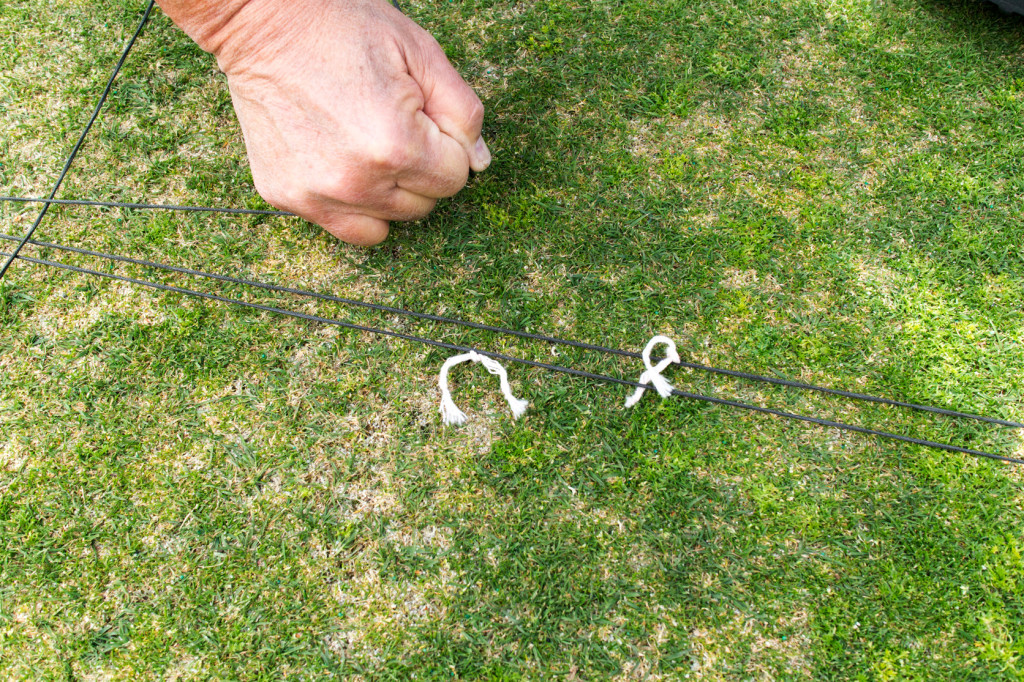
The yarn tensioning indicators showing almost the right tension
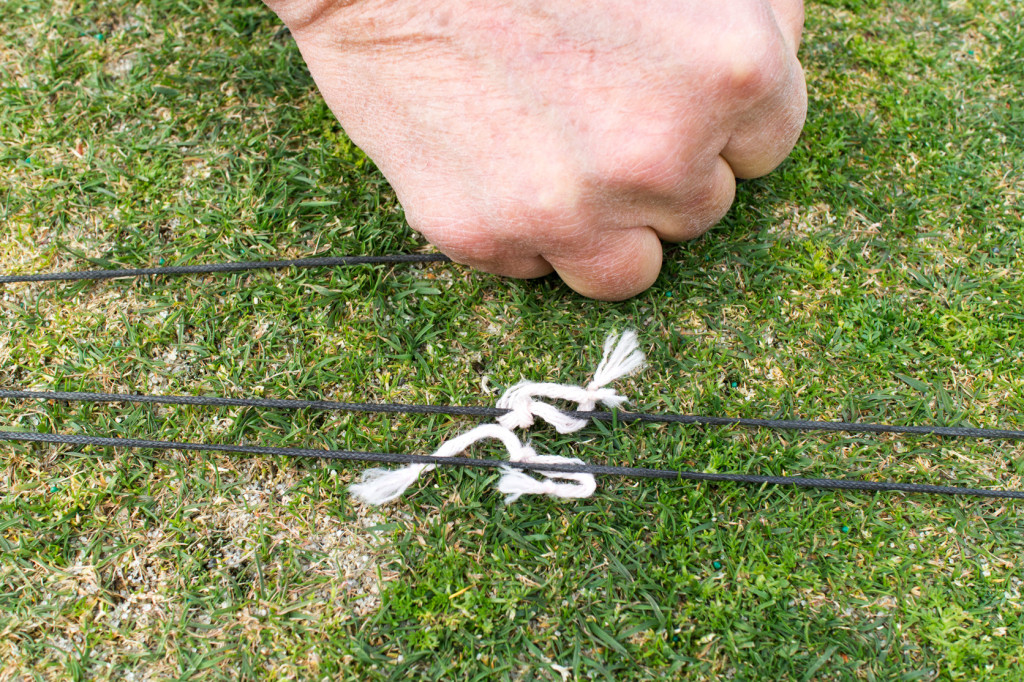
The large sliding loop you created has two yarn indicators. As you add or remove tension to the line these indicators move relative to each other. Adjust the tension so that the yarn indicators are adjacent to each other and the line tension is just right. Fix the line in this position with a hitch at the fixed loop.
The tension indicators are aligned – all is well for marking.
5. Make your marks
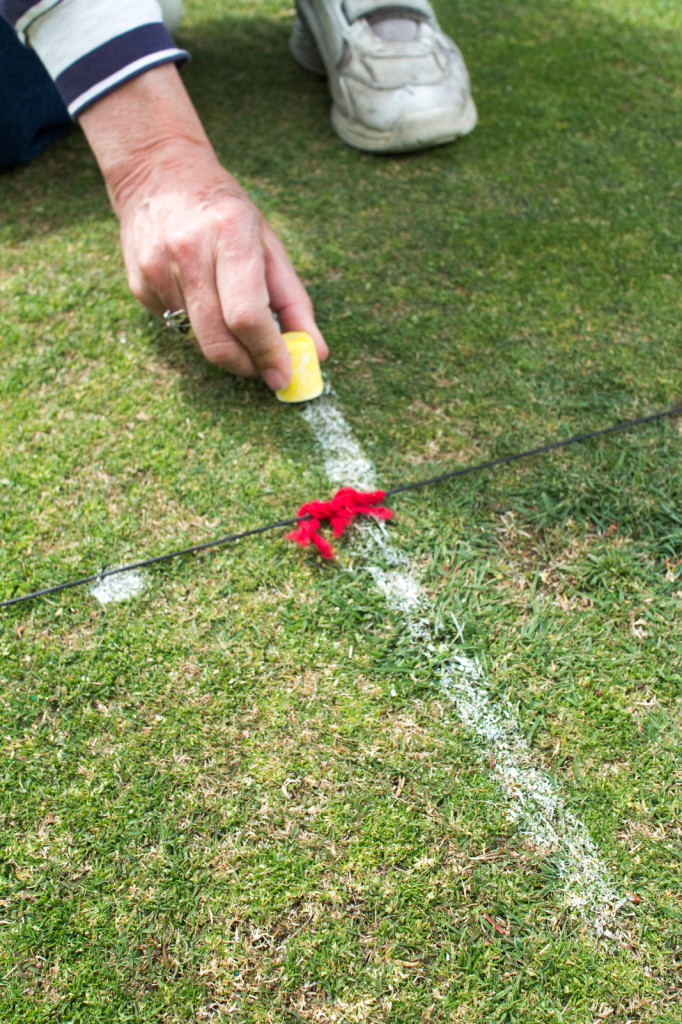
Now you walk down the Mark-O-Matic line and make marks at the tufts of yarn. The red tufts indicate the mat line and hog lines for each end. Mark these with a short chalk line perpendicular to the Mark-O-Matic string.
Make lines at the red yarn gifts
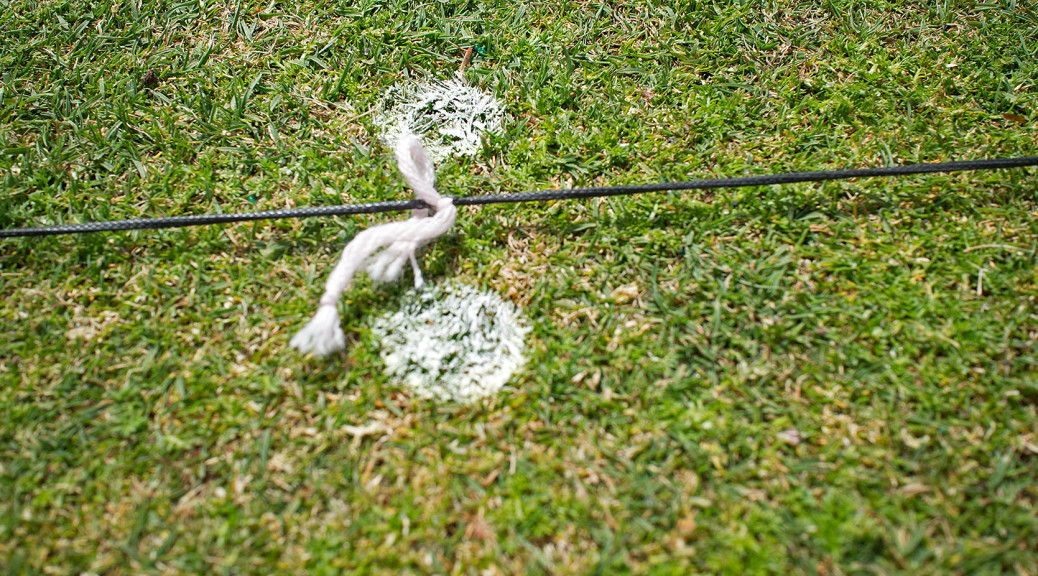
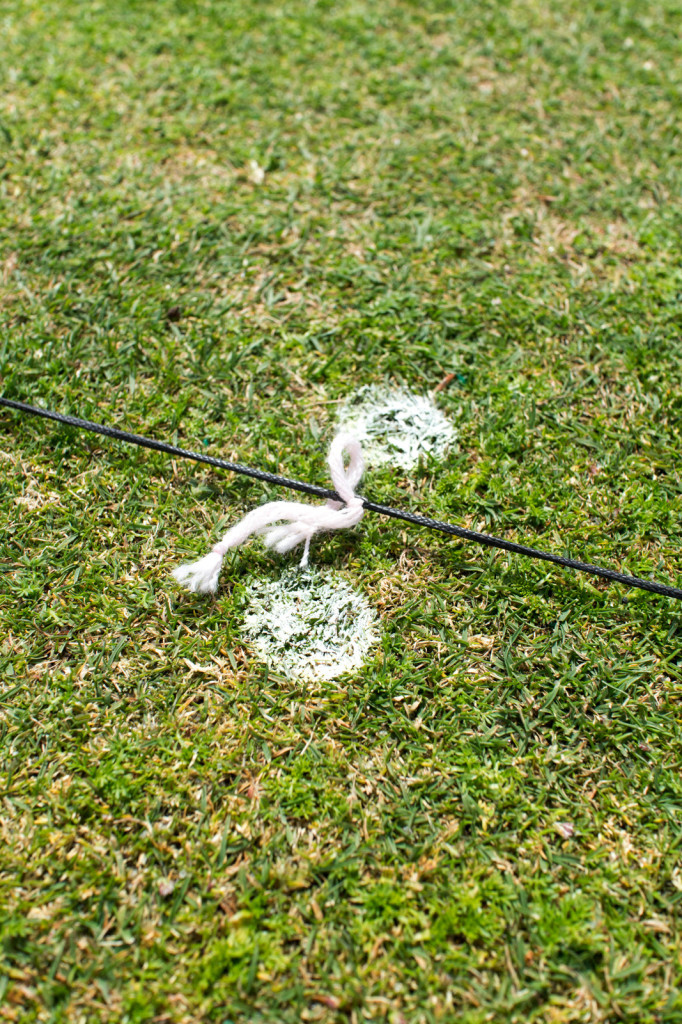
The white tufts of yarn indicate locations for the centering marks. At each of these locations, which occur at two-meter intervals between the mat and hog lines, make a small dot on each side of the Mark-O-Matic line.
Make dots at the white tufts
The centerline dots allow you to center the jack without hand signals. The two-meter intervals are helpful in understanding the mat-to-mat-line and jack-to-hog-line relationships with short jacks.
6. Put the Mark-O-Matic back in the shed
That’s it. Your rink is now marked. Just unhook the Mark-O-Matic from the nails, wind it up, put it back in the shed, and enjoy a nice game of bowls. The Mark-O-Matic chalk marks should last through a full day of play.

